Saturday, December 31, 2016

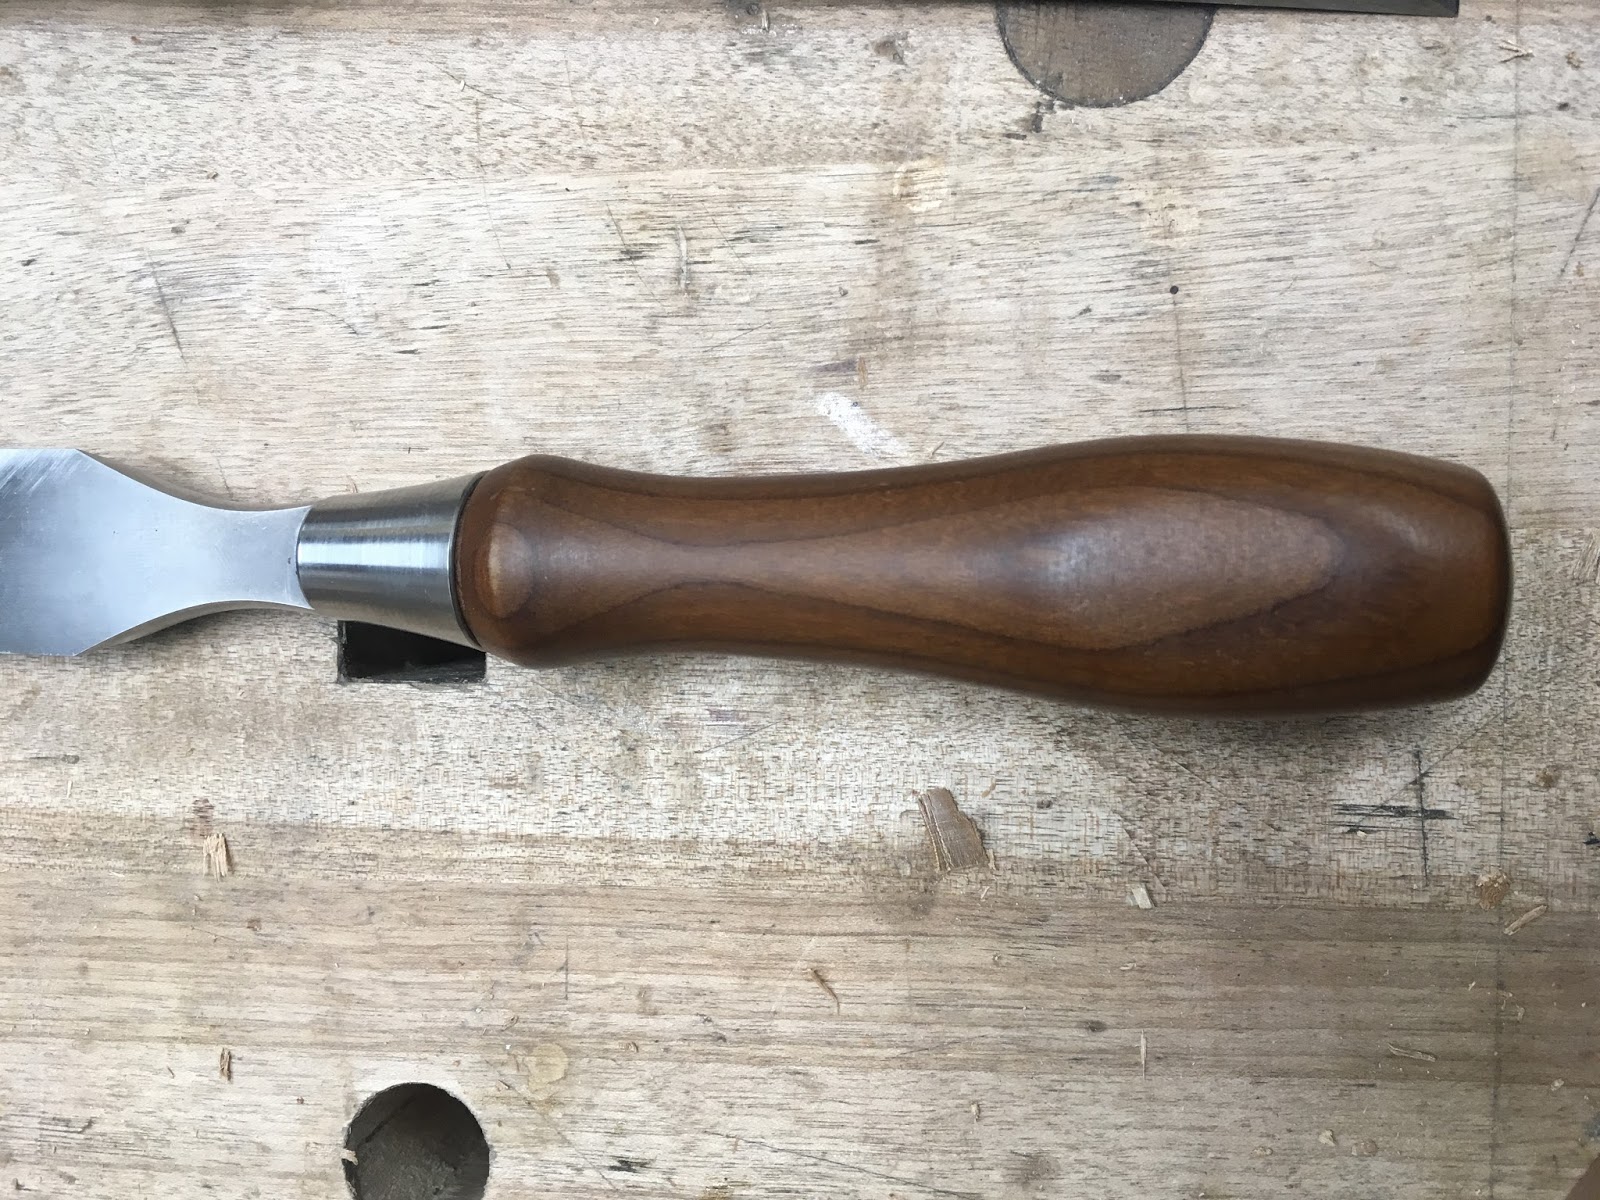
Lee Valley-Veritas PM-V11 Chisels


When I started into woodworking I wanted the best tools around. But realistically quality tools cost money, as we all know. Luckily I was fortunate to work at Woodcraft from the year 2000 through 2004. Lucky is somewhat questionable if I am going to be honest. Lets just say the discount I got prevented me from bringing home a penny of my earnings. I spent all my money on what ever tool(s) I could afford and thought I needed and made some poor choices. Sadly it took a while to realize less means more. Early on I also thought buying new was far better than at flea markets. Boy was I wrong! 

Fast forward to 2016 and here I am selling off excess amount of tools. There are days I feel that I am hoarder. Thank goodness that is over and done with. It is crazy how much stuff I've collected.What was I thinking!

Over the years there has been an uprising of tool makers. Each one making some amazing tools and accessories. Where were these guys when I first started! While I would love to buy everything each tool maker is making, I realistically can't. I am a full-time maker & restorer of furniture and I need to make proper decisions on what I truly need. The hoarding has stopped and I am tired of spending money.    

This leads me to the chisels showcased above, Veritas PM-V11's. I have used many chisels old and new, from Witherby, Greenlee, James Swan, Butcher, Stanley, Stanley Everlast, Marples (Boxwood handle), E.A. Berg, Marples Blue Chip, Chapman, Sorby, Pfiel, and Union. From all of these chisels none of them can compare to the Lee Valley PM-V11 chisels. 

These chisels are well balance, easy to sharpen, and hold an edge like no other chisel I have ever owned. Now I haven't owned any other modern made chisels ( Lie Nielsen or Blue Spruce). But from what I have owned the PM-V11 chisels are hands down the best. The edge retention is amazing. The edge of the chisel holds 3x's longer than A-2. 

My sharpening process is simple. I hollow grind on a baldor slow speed grinder with a 6 inch wheel at 27 degrees. I use a honing guide on water stones. I also strop every so often.  

Why 27 degree bevel? I use hard and softwood regularly and 27 degrees is a good working angle. 

Why use a honing guide? Simply because I know how to free hand sharpen which everyone should master. But also my hands are worked hard and a honing guide helps rest my hands. 

Why waterstones? Fast cutting. But I do own oilstones and diamond stones for other forms of sharpening. 

What kind of water stones? Sigma and Shapton. 

Really the message I am trying to share with you is save your pennies and buy the best set of chisels once. You will be happy you did. 

Cheers,

FR

Dovetailed School Box Class at Lie Nielsen Tool Works


I have been blessed with the opportunity to teach at Lie Nielsen Tool Works on Saturday & Sunday, June 3-4, 2017. The class will be offered at Lie Nielsen Toolworks located in Warren, Maine.  Please visit the following link to see further information; Lie Nielsen Toolworks.

I will like to also thank Chris Schwarz from Lost Art Press for offering a similar class in pass years and for giving me permission/opportunity in offering this class.

The school box projects came to fruition from a book published by Lost Art Press titled, The Joiner and Cabinet Maker. I highly recommend the book and its one of my favorite books ever published.  

As with any project I try to make or teach, I like to visually break down the piece into basic elements. This is nothing more than a box that meet at 90 degree corners.  The wood of choice is eastern white pine. The joinery used to make the box are dovetails, which is nothing more than a jig saw puzzle.  The bottom of the case and the moldings are simply hand planed and nailed on. The hinges and cubby inside the box are nothing more than grooves and mortises cut to a certain length, width, and depth.  The School Box is nothing more than learning how to master hand tools and understand a systematic approach to making a box.

If all else fails we can always paint the box and no one will ever notice any of the so called issues you think everyone else will see. But really this box gets you the student/maker ready to tackle bigger pieces. For every single piece of furniture made is simply constructed with dovetails, miters, and mortise and tenon. 

Come join me as we explore the school box made all by hand with dovetails, miters, mortises, and dados. Oh and don't forget the nails.  


Tool List:

Below are some of the tools we'll learn about in the class. We encourage you to bring your own tools or buy the required tools when you get here, as there are not enough classroom tools to outfit everyone.Please do not bring tools in need of repair or major fettling – there will not be time to fully tune them for use during the workshop.Please keep in mind, the best way to guarantee available tools for the class is to call ahead with an order. Some items on this list may be specific to another toolmaker. 

Please call Lie Nielsen Toolbars with any questions. Note: The list below references tools Lie-Nielsen carries, though you are welcome to bring tools from other makers.


  • Pencils
  • Notepad
  • Marking Knife (X-Acto style, with extra blades recommended)
  • Flat head & Phillips head Screwdrivers
  • Hammer
  • Awl
  • Fret Saw

Wednesday, November 16, 2016

Branding your business. Where to begin. Or to continue doing.


Branding your business and your name is where I recommend every business owner to start and to keep in mind as the business gets more established.  

Here is some advice that I wish I received when I started.

Branding the business: 

Define the overall aspirations and goals.
Conduct research in your area and see the demands in the area that can be filled.
Assess your current state in skill, knowledge, overhead, machinery, etc.
Create your game plane. 
Establish your brand. 
Manage your brand. 

So where am I as a business today? My business is growing regularly.  I have established a website. I have a  google page, a yahoo page, yelp page, yellow pages ad, google + page, Facebook and Instagram page, and list can go on. 

I am constantly adding to each of these pages to show the world I am still active and my skill is diverse. I am trying to share that I'm a jack of all trades, and I if I don't know how to do something than I know I can find someone who does. 

I am also preparing myself to demonstrate at art festivals, home furnishing shows, craft fairs, or the like.  This helps my business and my name get further established. I have this blog that you are hopefully following and enjoying. All these elements help further my business. Lastly I am trying to write an article or 2 each year if possible to further get myself in people's view.   

So where does that lead me to next?

Currently I am trying to further to establish my brand and by letting my logo and name speak for me. This is why I am purchasing a branding iron to mark not only my furniture but also my wood wares.  
Wood wares like cutting boards for example are a perfect piece of advertisement. By having your business branded on an item regularly used by patrons will hopefully remind them of you and your business. Obviously cutting boards isn't the only thing I do, but getting the client to sometimes remember is a different story.  This is why a cutting board with my branding is important. 

I am going to take this branding further by using the same layout of the banding iron and turning it into stickers, magnets, pens, hats, a new business shirt, sweaters, hoodies, pens, pencils, notepads, etc.  I am not telling you to do all of this at once, but rather consider them as the business grows.   

Branding iron to be made. Simply but informative

The branding iron is just another way of further establish my brand. Next comes the rework of the business card.  A business card needs to be clean and attractive. Printed in quality paper and easily readable.  I am also a believer that a business card has two sides. By adding my services on the back of a card, it kindly reminds patrons what else I can do to better serve their needs.
I am still modifying the business card. But this is a great start. 

While these two features seem obvious few actually go out and do them.  Which is why its important for me to share with you some tips on how to start.

Many thanks to Jasper and my better half Krista for helping me further establish my brand. 

Hope this helps. 


Sunday, October 30, 2016

Grain direction.

Grain direction is usually first hurdle most students need to understand.  Often I tell students that the wood will point the way- almost like arrows. When using machines to mill wood down I often say the wood will speak to you.  What I mean by this is that wood will splinter and tear out and you can hear it as it pass though or over a machine. I  am a big believer of visual aids versus trying to explain the process on a blog post. Below you will find 3 images that are very informative and can really answer many of the questions beginners have when starting to get into woodworking.  


Sunday, October 16, 2016

Window Bench

The completed cherry window bench 12 feet long 42 inches wide and 15 inches tall

Here you can see dividers and back put together with pocket screws.
Using pocket screws really speeds up the process and allows to correct any unforeseen issues.  
The window bench was constructed with modern construction. The use of domino loose tenons, pocket screws and plywood was used.  The reason for modern technology and joinery is simply due to budget, time, location, and situations.  Material of choice is cherry and cherry plywood primarily. The top was made with poplar as well to help reduce expense.
Please note how light the cherry looks compared to the final result. 


After the base is assembled duct work was added.  

Many thanks to Paul Jasper for all the help and guidance throughout the job. 


Custom made blast gates CNC'd.  


Water stain from General Finishes was the perfect match for surrounding paneling in the home.
I am happy with the overall result and that its over.  


What a Maker really means....


If you ever wanted to be a professional maker/restorer than one must first truly understand how half of my time is spent.

As a maker/restorer its never enough to be just a skilled furniture maker or furniture restorer, you have to be an even better business person - an entrepreneur.  You must be capable of running a business small or large.  What many may not know is 50% of my time is spent performing non furniture related tasks.  The world out there is challenging and the responsibilities are always growing each and everyday. Being a business owner means their is this welcome form of freedom and rewards. But you will be fooling yourself if you don't think there is risk.  It is very important to have business sense and management skills.  

With all that said remember you must enjoy life and your work.  Which is why we got into this craft in the first place.  I am no where near the ideal business man but I strive to become one daily.  

May you all have success in your work.


Saturday, October 1, 2016

Cutting Gauge

The conference in Covington Kentucky known as Woodworking in America proudly hosted by Popular Woodworking was amazing event for so many reasons. But one thing that caught my eye at the event was this amazing English style cutting gauge.  This form of cutting gauge has been on my list for about 14 years, and for some odd ball reason Pat Leach gave a price I couldn't refuse.

There is something about the form of these cutting gauges that just attracts me to them. Its amazing the weight and balance they have and how well they hold the desired setting. But with every old cutting gauge comes the blade that was used. Honestly I never keep any of the old blades. They are often too small and not harden enough to hold an edge.  

Which leads me to the main purpose of this blog post. When needing to make a blade I use old worn or dull jig saw blades.  The way I look at it is, these pieces of metal need be good for something. That is the old Yankee in me I guess.  

My process in making a blade it to grind all the teeth off on a slow speed grinder.  Keep some water near by to cool the metal. Than I eye ball center and form a triangular tip.  After the tip is formed I put a bevel on the right and left side of the tip.  The triangular tip allow for the cutting gauge to be used in a pushing and pulling method.  The knife edge gauges are the only ones I use and find them the only ones worth buying if you are doing hybrid woodworking. 

Layout is by far the most important feature in woodworking. Pencils are not accurate enough. A knife line guides can guide a cut or can be used as a reference when paring with chisels.  Like everything else you must sharpen the tip and I count my strokes on each bevel to ensure even sharpness.  

This may sound like a lot of work but it actually took less than 5 mins to do.      


Jig Saw Blade on the left.
The blade on the right is the result of the teeth grounded and a triangle tip was grounded free hand.  

In this photo the right blade was flipped to show the double bevel. 

The cutting gauge in the english style. 

Free hand grinding the bevel. Angle to the left for the left bevel. Angle to the right for the right bevel.
Its amazing how quickly these bevels form.  

Look at that knife line that has been scribed.