Tuesday, January 31, 2017

The dovetail drawer.

The dovetail joint in it simplest form is a joint commonly used to hold the sides of a drawer together. The joint consist of interlocking pins and tails that are cut in precise angles that must fit tightly. Once the pins and tails are set they create high tensile strength and will last for an extremely long time.   

This post isn't going to be a debate on what you should cut first-tails or pins. The reason why I don't discuss what part to cut first is simply because it depends on the situation.  But when it comes to drawers I often cut tails first because it is easier for me.

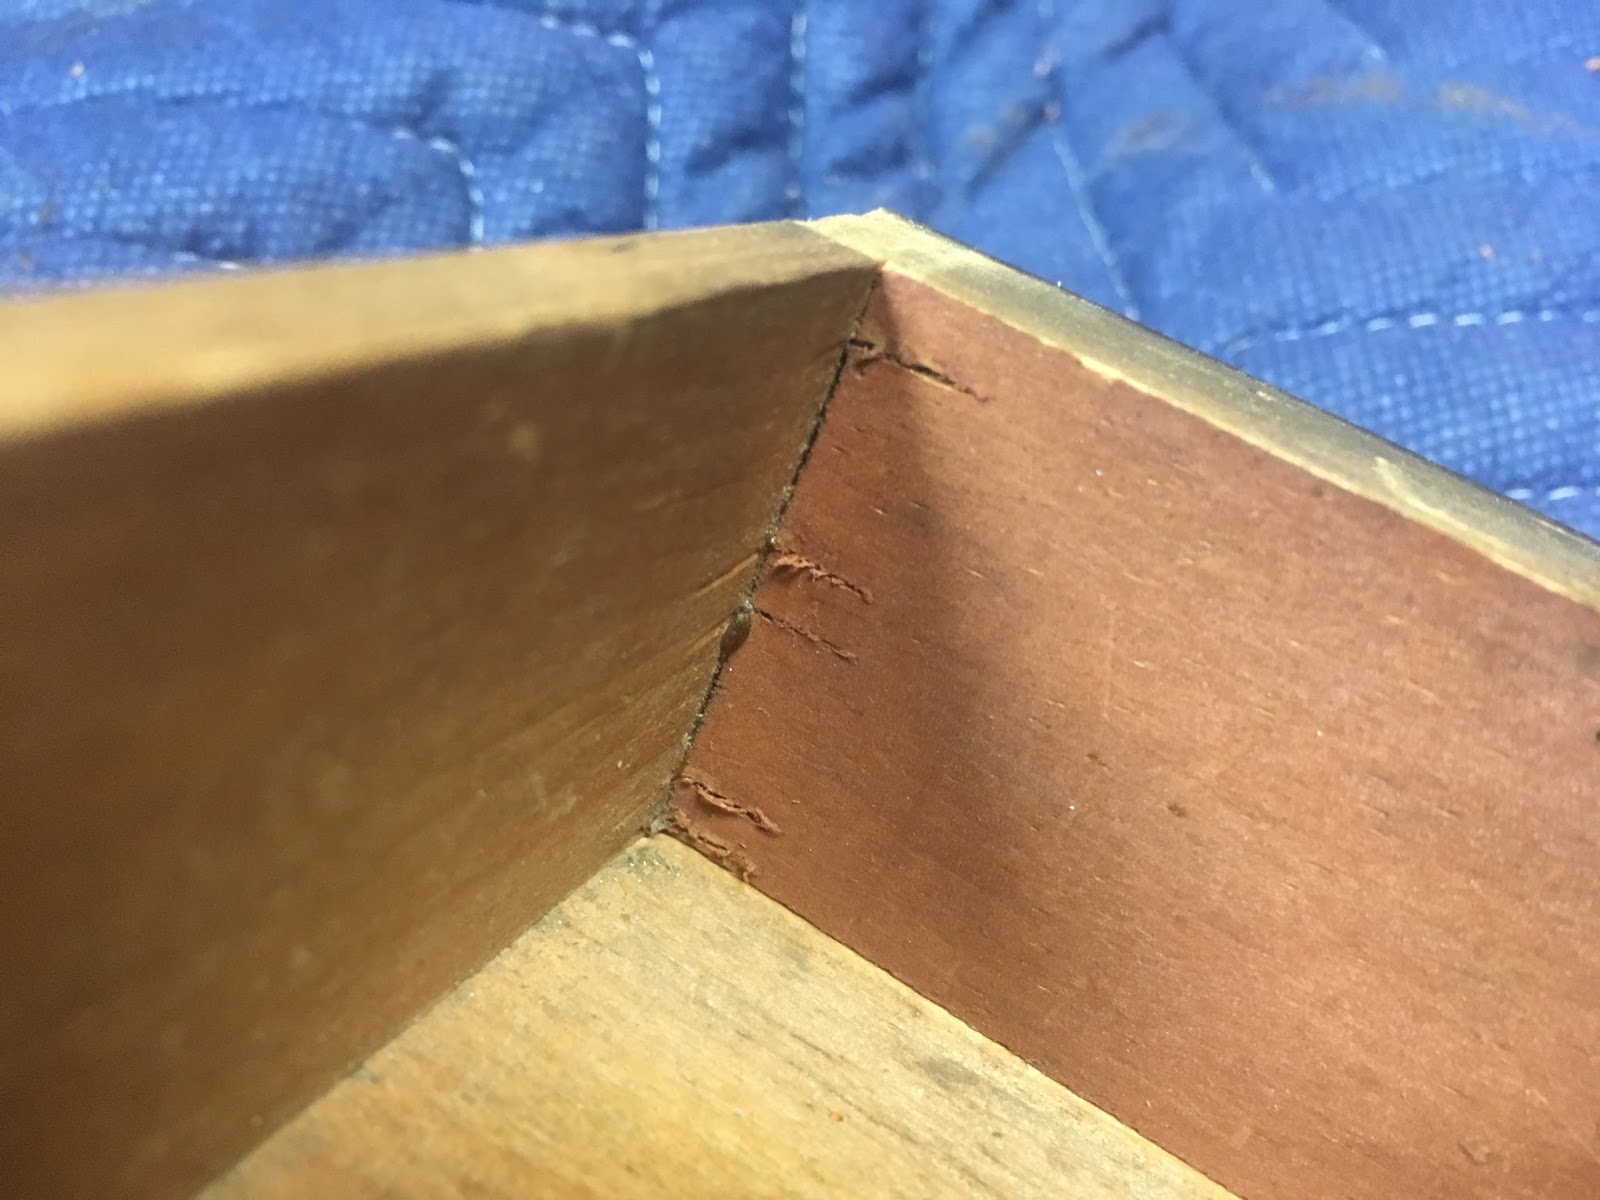
Which leads me to the drawer shown below. I got a request to reproduce a period drawer for a Boston butler's desk using period materials. Unfortunately the original drawer has disappeared in a recent move, which is more common than many may know. Thank goodness for organ donors otherwise known as broken antique furniture. I often use these pieces or parts of furniture for repairs/making new elements. 

So where do I begin when making a drawer? I take photos and study the details. The details I am looking at are: the layout/spacing on tails and pins. Is the layout the same? Is there undercutting or over cutting? What is the size of the kerf? What about the scribe marks, material, the grain of the material, and the tool marks? After I have made my observations I will figure out what I am going to cut first tails or pins. 

I am currently in the observation stage and thought why not share with you this awesome little drawer  made from pine and veneered with cuban mahogany.  There are so many awesome details that is worth studying. Enjoy the subtle details, there be more to share soon. 


Sunday, January 29, 2017

Hide glue for sale.


Hide glue the oldest of all the glues commonly used in woodworking. With any glue there are pros and cons. The cons are the glue must be hot, some form of a double boiler must be used, it can spoil, open time can be a concern, and cheap glue smells badly. The pros are reversibility, easy to repair, easy of sanding, perfect for hammer veneering, non-toxic, no creep, will stick to old hide glue, and best of all the glue is transparent to most finishes. 

Hide glue is the ideal traditional protein glue for veneering, and with a bit of practice you can successfully veneer without a pile of clamps or the need of a vacuum press. It's the perfect glue for the occasional user. You can do many joints just by rubbing the wood together until they get tacky and stick - no need for clamps. 

Commonly hide glue is sold in many different "gram strengths." The higher the gram strength of glue the tackier and stronger the glue. The stronger the glue is often the less "open time" you have. For this simple reason I only stock 192-gram strength hide glue. The hide glue I stock is made by the last supplier of hide glue in the states and it's the highest refined hide glue available with the least amount of odor.

Mixing: 
Use equal parts of water and glue.  Once the glue is in liquid form the rule for adding water is hot glue means hot water/cold glue means cold water must be used.  Ideal temperature is 120-150 degrees. Anything higher and the glue will start to cook and weaken.  If any mold is formed the glue shouldn’t be used.  If the use the glue isn’t regular than it can be placed in the refrigerator for safekeeping.

Shelf life:
In granule form the glue will be good standing for 100 plus years.

If interested in purchasing some glue please visit my etsy store found here: https://www.etsy.com/listing/489778424/hide-glue-192-gram-strength?ref=shop_home_active_1

Thursday, January 26, 2017

Sharpening


The discussion of sharpening stones is like discussing cutting dovetails. Do you cut tails or pins first and do use machines to cut them?  Like many of us I too fell into the trap of believing everything you read without actually testing or asking a professional in the field.  

The subject for today is sharpening stones.  What sharpening stones should I buy and why?  The answer to this question is quite simple, well today it is.  For bench chisels and plane blades my choice is water stones. The main reason why I prefer water stones is how quick water stones establishes a keen edge. The only negative to water stones is they need to be flatten regularly.  Years ago water stones needed to be soaked all the time in a bucket/container of some sort. Today though we are blessed with ceramic water stones that don't need to soaked but rather sprayed with water before use. 
The stones of choice for me are Sharpton ceramic water stones and the grits I use are 1000, 5000, and 8000 grit.  

When it comes to sharpening carving and turning tools I use a totally different set up. I like to use oil stones for curved tools because the stones are hard and don't get out of flat.  While oil stones cut slower they allow you to focus on the tool rotation side to side.  While the stones are hard they still need to be maintained by wiping the stones with clean oil and rag. If you don't wipe down the stones than they can get glazed over. If the stone gets glazed boy you have your work cut out to bring them back to working order. The oil stones I use are from norton. The grits I use I is coarse, medium, and black surgical.  The lubrication for oil stones can be just about anything but I prefer mineral oil.  

My last must have stone for multiple reasons is the coarse and fine diamond stone from DMT.  I use this stone to flatten my water stones, flatten plane and chisel backs, and to help the process of sharpening the cabinet and card scraper. I use water as my lubricate because I use the diamond stone to flatten my water stones.  

This selection of sharpening stones are what I use and many other trained professionals in the field. But like everything in the field of woodworking there are always an exception of the rule. 

Free hand sharpening is a skill I recommend everyone to learn. This process takes practice. But there is nothing wrong with a honing guide. I own the Lie-Nielsen version and it works great. Lee Valley also offers a honing guide and it too works awesome. The only issue with honing guides is that they can't hold every tool so you will sooner or later need to sharpen free hand.  

Happy sharpening!


Monday, January 16, 2017

Veritas quick release wonder dog


The Veritas quick release wonder dog is the newest clamping fixture added to my studio. This newest version  is quick and easy to adjust. The clamping range is about a 6 inch and all it needs to work is a 3/4 hole for the post to slide down into. Since the post is round the wonder dog can also rotate 360 degrees for easy of clamping. With this new addition to the bench there isn't an item that I can't clamp or secure in a certain location or angle. So next time you are struggling to clamp something remember there is a tool for this issue. 


Wednesday, January 11, 2017

Medium size router.


The router is one of the most useful and versatile tools to own. Now make sure you don't confuse this tool with the electric router, for that is a totally different tool all together.  I recently received this gem of a router made by Lee Valley Veritas.  I truly router planes for so many reasons... Cleaning dados, rabbets, grooves, cavities for inlay or repair work.  

In the pass there were only two routers available, the large two handle version like the Stanley #71 or the small version like the Stanley #271.  Each one works great but often you need/want a in-between size. Today we as craftspeople are fortunate to have the ability to buy modern versions from Lee Valley and Lie Nielsen. Both companies offer great router planes. But only Lee Valley sells the medium size. 

The medium size router is ideal form majority of jobs, and the irons that fit the large router works in the medium size router. This simple function of interchanging cutters is why I had to have it. Like everything Lee Valley makes the tool is of the highest quality and works like a dream.  I highly recommend it. I love so much so that I am selling off my  Stanley and Sargent #271 size routers.


Saturday, December 31, 2016

Lee Valley-Veritas PM-V11 Chisels


When I started into woodworking I wanted the best tools around. But realistically quality tools cost money, as we all know. Luckily I was fortunate to work at Woodcraft from the year 2000 through 2004. Lucky is somewhat questionable if I am going to be honest. Lets just say the discount I got prevented me from bringing home a penny of my earnings. I spent all my money on what ever tool(s) I could afford and thought I needed and made some poor choices. Sadly it took a while to realize less means more. Early on I also thought buying new was far better than at flea markets. Boy was I wrong! 

Fast forward to 2016 and here I am selling off excess amount of tools. There are days I feel that I am hoarder. Thank goodness that is over and done with. It is crazy how much stuff I've collected.What was I thinking!

Over the years there has been an uprising of tool makers. Each one making some amazing tools and accessories. Where were these guys when I first started! While I would love to buy everything each tool maker is making, I realistically can't. I am a full-time maker & restorer of furniture and I need to make proper decisions on what I truly need. The hoarding has stopped and I am tired of spending money.    

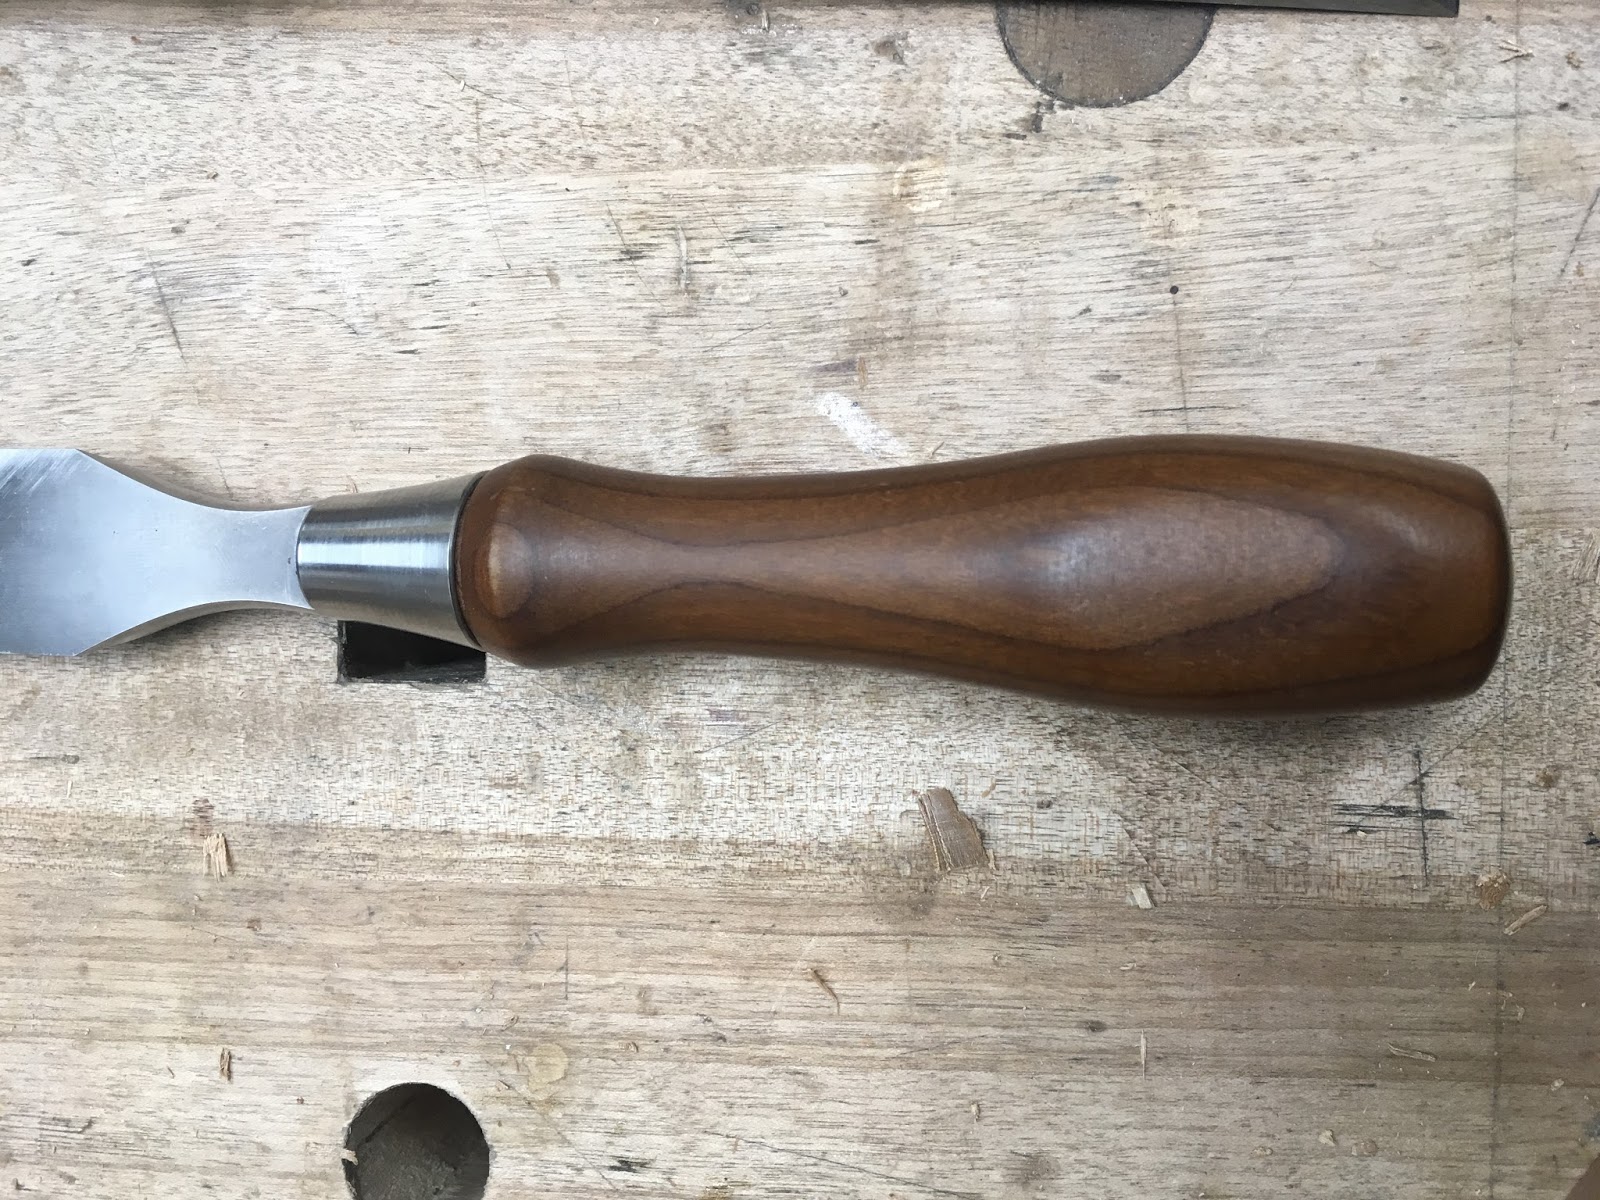
This leads me to the chisels showcased above, Veritas PM-V11's. I have used many chisels old and new, from Witherby, Greenlee, James Swan, Butcher, Stanley, Stanley Everlast, Marples (Boxwood handle), E.A. Berg, Marples Blue Chip, Chapman, Sorby, Pfiel, and Union. From all of these chisels none of them can compare to the Lee Valley PM-V11 chisels. 

These chisels are well balance, easy to sharpen, and hold an edge like no other chisel I have ever owned. Now I haven't owned any other modern made chisels ( Lie Nielsen or Blue Spruce). But from what I have owned the PM-V11 chisels are hands down the best. The edge retention is amazing. The edge of the chisel holds 3x's longer than A-2. 

My sharpening process is simple. I hollow grind on a baldor slow speed grinder with a 6 inch wheel at 27 degrees. I use a honing guide on water stones. I also strop every so often.  

Why 27 degree bevel? I use hard and softwood regularly and 27 degrees is a good working angle. 

Why use a honing guide? Simply because I know how to free hand sharpen which everyone should master. But also my hands are worked hard and a honing guide helps rest my hands. 

Why waterstones? Fast cutting. But I do own oilstones and diamond stones for other forms of sharpening. 

What kind of water stones? Sigma and Shapton. 

Really the message I am trying to share with you is save your pennies and buy the best set of chisels once. You will be happy you did. 

Cheers,

FR

Dovetailed School Box Class at Lie Nielsen Tool Works


I have been blessed with the opportunity to teach at Lie Nielsen Tool Works on Saturday & Sunday, June 3-4, 2017. The class will be offered at Lie Nielsen Toolworks located in Warren, Maine.  Please visit the following link to see further information; Lie Nielsen Toolworks.

I will like to also thank Chris Schwarz from Lost Art Press for offering a similar class in pass years and for giving me permission/opportunity in offering this class.

The school box projects came to fruition from a book published by Lost Art Press titled, The Joiner and Cabinet Maker. I highly recommend the book and its one of my favorite books ever published.  

As with any project I try to make or teach, I like to visually break down the piece into basic elements. This is nothing more than a box that meet at 90 degree corners.  The wood of choice is eastern white pine. The joinery used to make the box are dovetails, which is nothing more than a jig saw puzzle.  The bottom of the case and the moldings are simply hand planed and nailed on. The hinges and cubby inside the box are nothing more than grooves and mortises cut to a certain length, width, and depth.  The School Box is nothing more than learning how to master hand tools and understand a systematic approach to making a box.

If all else fails we can always paint the box and no one will ever notice any of the so called issues you think everyone else will see. But really this box gets you the student/maker ready to tackle bigger pieces. For every single piece of furniture made is simply constructed with dovetails, miters, and mortise and tenon. 

Come join me as we explore the school box made all by hand with dovetails, miters, mortises, and dados. Oh and don't forget the nails.  


Tool List:

Below are some of the tools we'll learn about in the class. We encourage you to bring your own tools or buy the required tools when you get here, as there are not enough classroom tools to outfit everyone.Please do not bring tools in need of repair or major fettling – there will not be time to fully tune them for use during the workshop.Please keep in mind, the best way to guarantee available tools for the class is to call ahead with an order. Some items on this list may be specific to another toolmaker. 

Please call Lie Nielsen Toolbars with any questions. Note: The list below references tools Lie-Nielsen carries, though you are welcome to bring tools from other makers.


  • Pencils
  • Notepad
  • Marking Knife (X-Acto style, with extra blades recommended)
  • Flat head & Phillips head Screwdrivers
  • Hammer
  • Awl
  • Fret Saw