For 3 weeks I have been keeping myself busy making these ladder back chair for the Windsor Historical Society located in CT. I wouldn't call them reproductions since I didn't work them from the green nor did I use traditional methods. Some may wonder why I didn't work them from the green, and the simple response is the budget.
The splats on the chairs needed to be steam bent and multiple forms were needed. I cut some green 4x4 pine to the shape necessary for the splats. I over bent the curve of the splat for the expect spring back. To determine the correct amount over bending involved trial and error. I made single splat form and adjusted the curve until I was satisfied with the spring back.
 |
| Rough cut right off the bandsaw. Pinch dogs on the ends for alignment. |
 |
| Bending Plywood was added to hold all the 4x4 pine together. |
One of my favorite materials for jig making when working with curves is bending plywood. I have often used this plywood for restoration work as well. I always have a sheet on hand. That reminds me I need to buy another sheet. I made four of these bending forms since I had so many splats to bend.
 |
| Steam box. |
I am one of those craftspeople who makes just what he needs for the project at hand. I try to keep things simple. I needed a steam box so I quickly slapped this together. The dowels you see on the side of the box are what separate the parts from one another. The door is hinged on the left. The sawdust on the floor gathers any of the water that spilled. A wall paper steamer created the necessary steam and I purchased it from Home Depot. Since all the splats are kiln dried I added glycerin to the water to help soften the wood and make it more playable.
 |
| The bending forms are ready. |
I added a block on the left to help capture one end of the splat. This allowed me to focus on the bend. This is a one man operation, but solid quick adjustment clamps are necessary. Wetzler and Hartford clamps are the clamps of choice for this operation.
Here is a great photo on how the splats are being held in the bending forms. I was able to get 6 splats per form. I had angled wedges from pass chair jobs and this assisted in the clamping. Always save your clamping blocks.
 |
| Lets get this part done and over with. |
Next on deck were the spindles. I went ahead jointed one face & one edge on a 8/4 birch board. Then I set the bandsaw to the desired width and ripped all the spindles I needed. There are extras just incase of human error.
 |
| Round spindles with square ends. |
In the ideal world I would have rived all these spindles green and than shaped them all with my awesome shave horse. I am sorry to say I have out grown my shop, so either in the new future shop or when my shop partner leaves the shave horse and marquetry donkey will finally be built. With that in mind I had to improvise. If you think I am going to turn all these spindles and make all the tenons to the right diameter than I am happy to say, you are wrong.
I
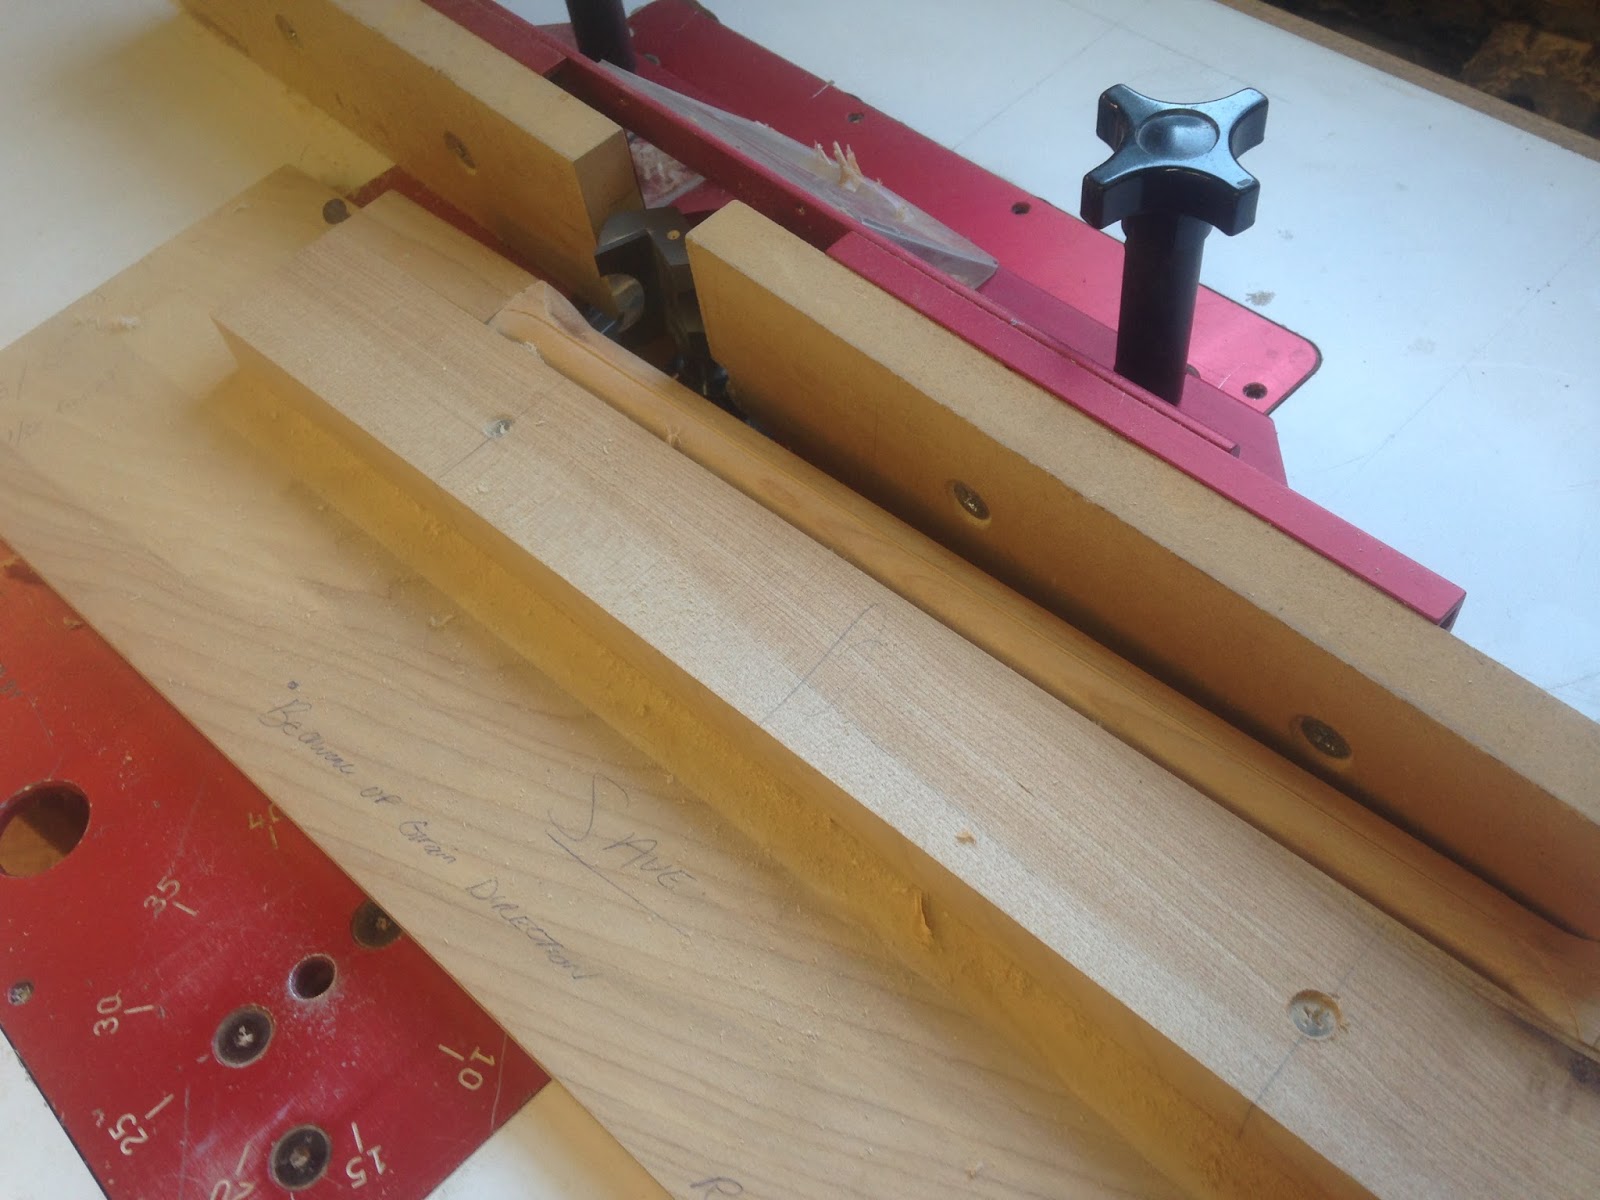
I have different 3 spindle lengths so I made 3 jigs to hold the spindles. The spindle length needed to be spot on. I couldn't afford inconsistency. Instead of turning the spindles I am using a bullnose bit from Whiteside. Hands down the best router bits ever made. I flushed up the fence of the router table to the depth of the curve, set the desired height with consideration of the jig, and ran it. Always be aware of grain direction. I run one edge, unscrew, flip, tighten the screw, and run the other edge. Again these jigs are quick and dirty. There is nothing special here and it doesn't have to be. I will say flat plywood is crucial. The ends stay square to support the wood and prevent possible movement.


Next came the tenons. I will like to sing high praise to Lee Valley for their amazing innovate tooling. But if I start to sing my significant other will let me know not to quit my day job. I purchased a 5/8"
power tenon cutter and I must say what a pleasure it was to use. I made quick work of the tenons. The fit was perfect and the power tenon cutter worked like a dream. Thank you Lee Valley!!!! I also hand scraped every spindle which was quick work, but made my hands were sore. I love a scraped surface.
 |
| Time to turn the front legs and the rear posts. |
As you may have noticed the theme here is get the job done as quickly as possible. I decided to chamfer all the legs to help reduce the amount of turning at lathe. I set the bevel on the saw to 45 and ripped away.
I am fortunate to have access to a great lathe that my friend Steve owns, and if things go right with the world I will be the future owner of this gem. I have an amazing Blount lathe but its not set up just yet. So I mounted each one of the legs on the lathe and went add it. It took me a long day to get the the turnings done.
With all the parts turned it was time to get the front assembly bored and glued. I made a v-block holder for the drill press. I again have to sing high praise to Lee Valley for their amazing
brad point drill bits. I can't picture woodworking without them. By far the best cut around.
Once all the holes on the front legs were bored I was ready for glue up.
Old Brown Glue is the preferred choice of glue for 85% of my work. This is literally square hole round peg scenario. I had these amazing holdfast made by
John Switzer which will be used properly in the future Roubo/Klausz/Edwards bench. Stay tune for that.
 |
| Boy my hands are getting big. |
The back posts needed their mortises to be cut. This is where hand and machine wins every time. I am sorry to say if I have more than 3 mortises to cut than I am using the mortiser. This isn't my favorite mortiser and I don't recommend it, but it does the job. Locations of the mortises are determined by the scribed marks. I made a scribe block half the thickness of the post and scribed a line with a pencil. This marks center, but I still needed to locate where exactly the mortise was going to be located. From center I measured over an 1/8"of an inch. I scribed that with a pencil. I prefer a knife to scribe, but for some odd ball reason this day the pencil was the choice. I set the mortiser for location and depth. Than mortised away.
 |
| Killer French Vise and Clamps. |
Splats are ready to be fit. I cut the desired profile referencing a center line. I planed and scraped all the splats before cutting the profile. Once all the splats are fit, I glued them with... Old Brown Glue.
 |
| Excuse the background |
The back post must first be put together so I can determine the center of the back post after they have conformed to the bend of the splats. After the assembly is dry I clamp the back assembly on the bench with my holdfasts. Next I lay square against the back post to ensure 90, both posts must be hitting the square before scribing. Than I scribe a line off the scribing board set for 1/2 of the back post thickness.
Once the back post were glued it was time to bore for the side stretchers. The mortises needed to be angled and a ramp fixture assisted in the geometry necessary. For the front mortises the small end faced the drill press. For the back mortises the wide end face the drill press. Its very important to do a sample first.
Once all the holes were bored it was time to glue up these bad boys with... Old Brown Glue.
Excuse the background.
After the glue dried a little warm water to clean off any glue and it was time to paint. First came the brick red milk paint from General Finishes. Than the lamp black milk paint.
I was trying to get a certain look and age to the finish, but also match examples I have seen. This is the end result. After the milk paint layers I applied a little oil and shellac.
After the finish all that was left were to weave the chairs. I learned to weave the seats from a youtube video. Weaving is a lot of fun and hard on the hands. I was surprised how easy it was to do. Today the chairs are in the Windsor Historical and they will live in their collection long after I pass. The museum is great for they allow the patrons to interact with the furniture just as they would in the period. Thank you for reading and I hope you enjoyed the process. If you have any questions please post them in the comments section.
Cheers,
FR